How to book a place for Darshan
The steps below assume that you have already logged into your account on mothermeera.com. If you haven't then do so but if you don't know how then you will need to read one or both of How to register yourself on mothermeera.com and How to log in to mothermeera.com and what to do if you have forgotten your password.
You should see a list of upcoming events (i.e. Darshans, or occasionally in-person Meditations) which looks something like this (obviously the events will be different):
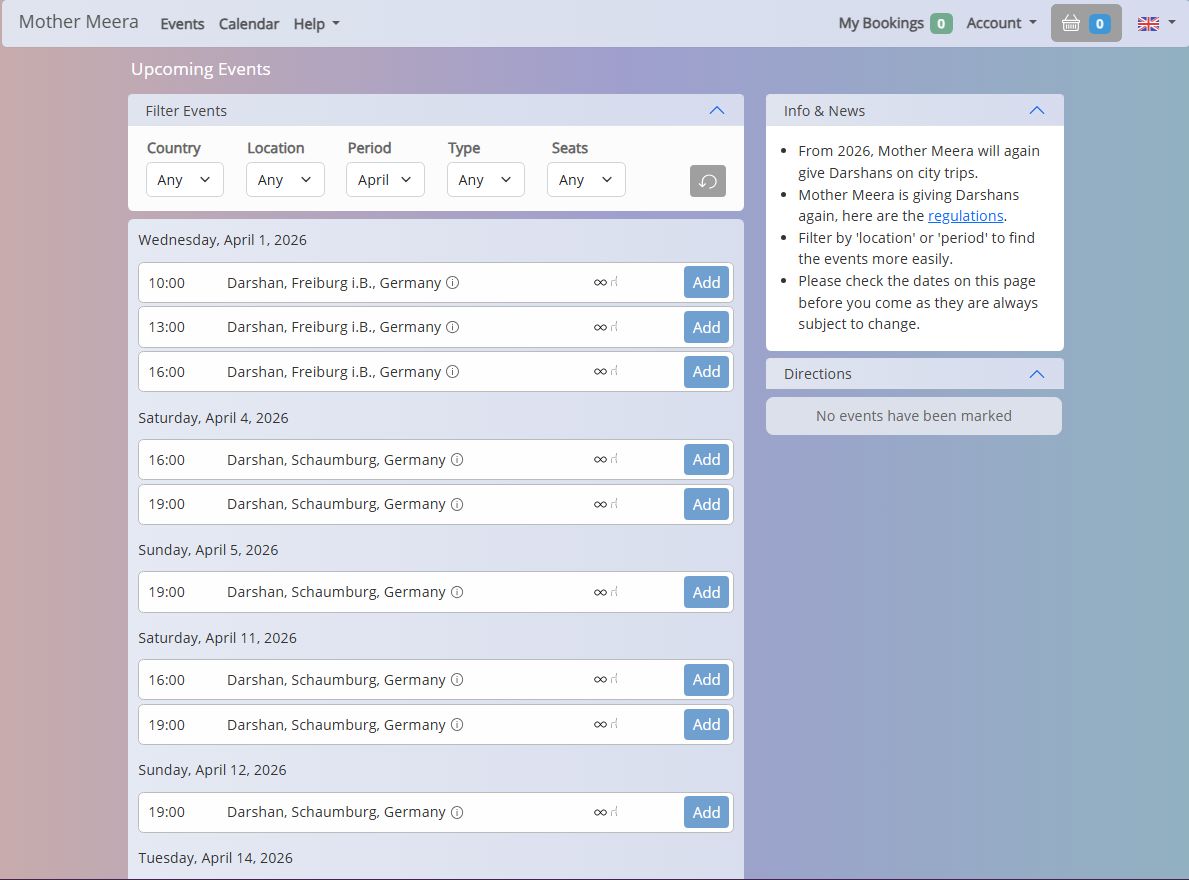
The "Filter Events" block at the top allows you to filter the list, for example, to show only those events that are happening in a particular country. This can be used as a quick way of showing the events that are coming up in the UK. Below that is a list of events in date and time order.
NB: if you click the little ![]() to the right of an event description you will get more information about the event and the location where it is to be held (e.g. directions). The other icon (
to the right of an event description you will get more information about the event and the location where it is to be held (e.g. directions). The other icon (![]() ) to the right of that is a representation of how many seats are available to book. Hover over it for further info.
) to the right of that is a representation of how many seats are available to book. Hover over it for further info.
If you wish to book a place at an event simply click the blue "Add" button to its right. It will change to an orange/brown "Marked" icon. If you change your mind then click it again and it will change back to a blue "Add".
When you have one or more events marked the list looks something like this:
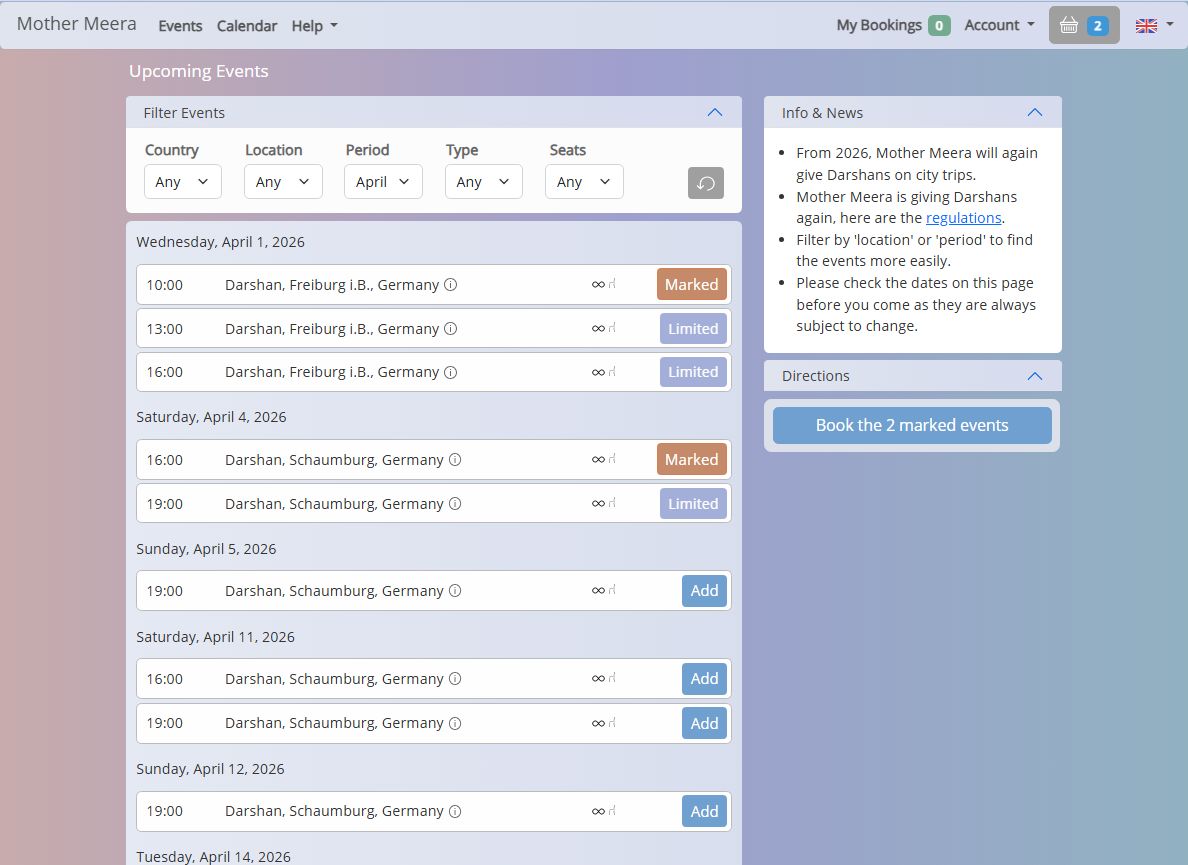
Note that two things have changed:
- Below the "Direction" block on the right, instead of saying "no events have been marked" there is now a blue button labelled "Book the 2 marked events" (the text will change depending on how many events you have marked).
- On days where more than one event is listed and you have marked one of them the other events now have buttons labelled "Limited". This is because you are only allowed to attend one Darshan per day.
When you are happy with your selection click the blue "Book..." button on the right to move to the next step, where you will see this:
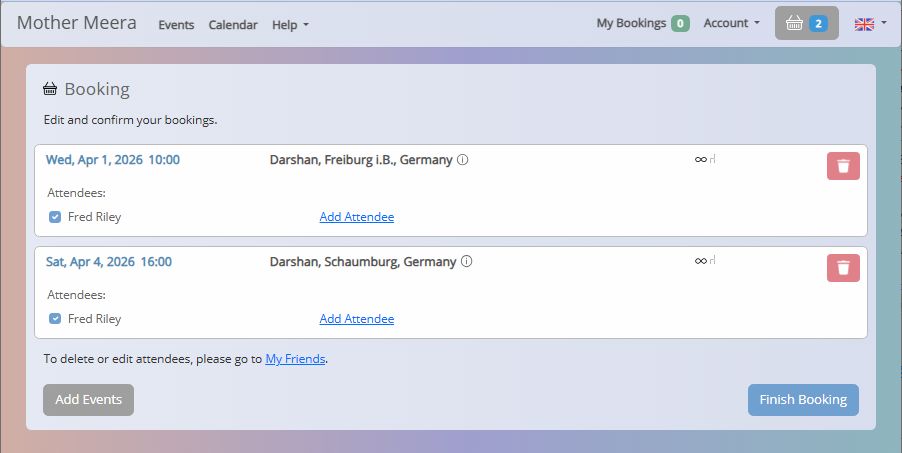
Titled "Booking", this is your 'basket' (i.e. just like a shopping basket in online shopping). You can return to this screen if you have moved elsewhere by clicking the shopping basket icon along the top (between "Account" and the UK flag). If you wish you can remove an event from your basket by clicking the red 'dustbin' icon to its right.
If you wish to add one or more other people to your booking (nb: at this point your booking is not yet confirmed) then continue below to read the "Adding an Attendee" section. If however you are just making a booking for yourself then click the blue "Finish Booking" button and click here to jump to the point in these instructions where what happens next is described.
Adding an Attendee
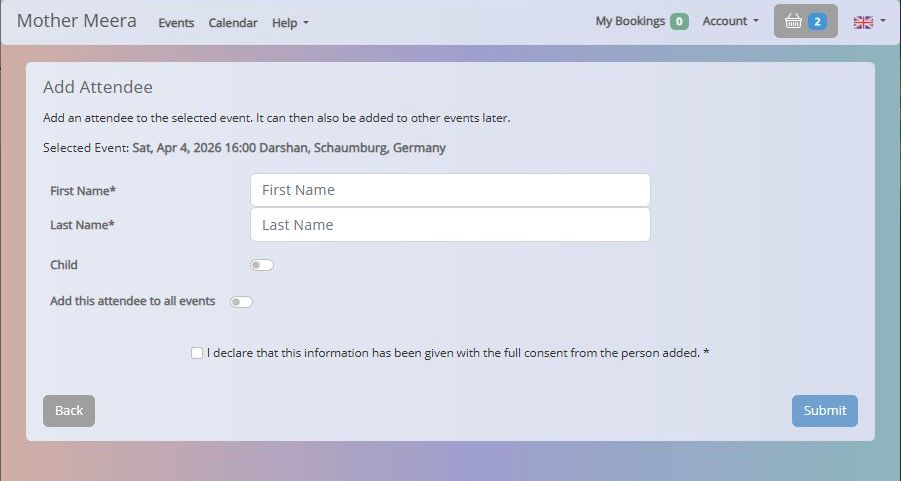
To add another person to your booking click the underlined "Add Attendee" link on the booking that you want to add them to. The following screen is then shown:
Note: This is used if you are adding someone who you haven't added before. If you have made bookings before and have created attendees then tick boxes will appear on the Booking (basket) screen and you can just tick the appropriate box to add them to your booking. People like this are referred to as your "friends" and you can click "My Friends" on the "Account" drop-down menu to access them. Use of the "My Friends" screen is not covered in these instructions but if you got this far we expect you will find it fairly self-explanatory.
So, to add a new attendee enter their first and last names. If you wish to add them to all the events you are booking move the "Add this attendee to all events" switch to the right.
If the attendee is a child (under 17) you should move the "Child" switch to the right. You will then need to enter their date of birth (where it says "Birthday").
Here is an example attendee (and in this instance it is a child):
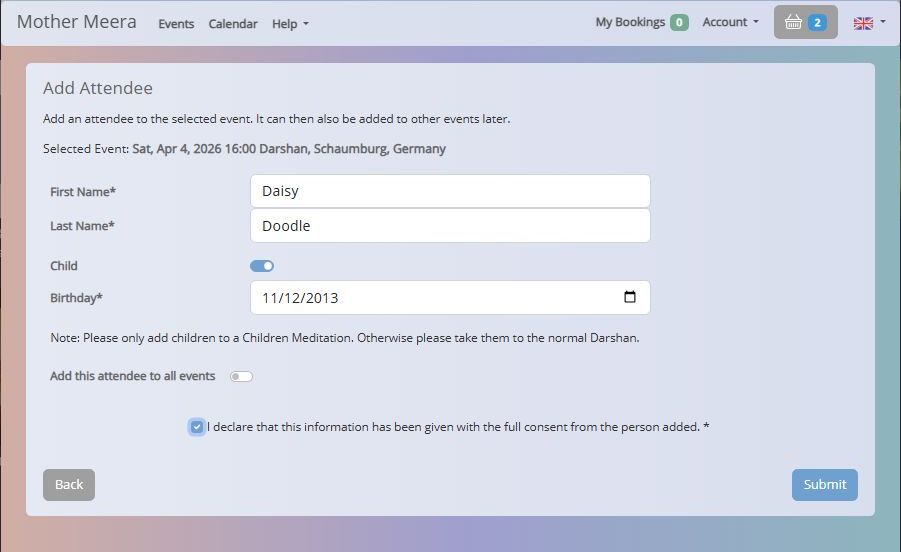
When you have entered all the appropriate information you will need to tick the declaration beneath it and then click the "Submit" button. The "Booking" screen then reappears and updates as follows:
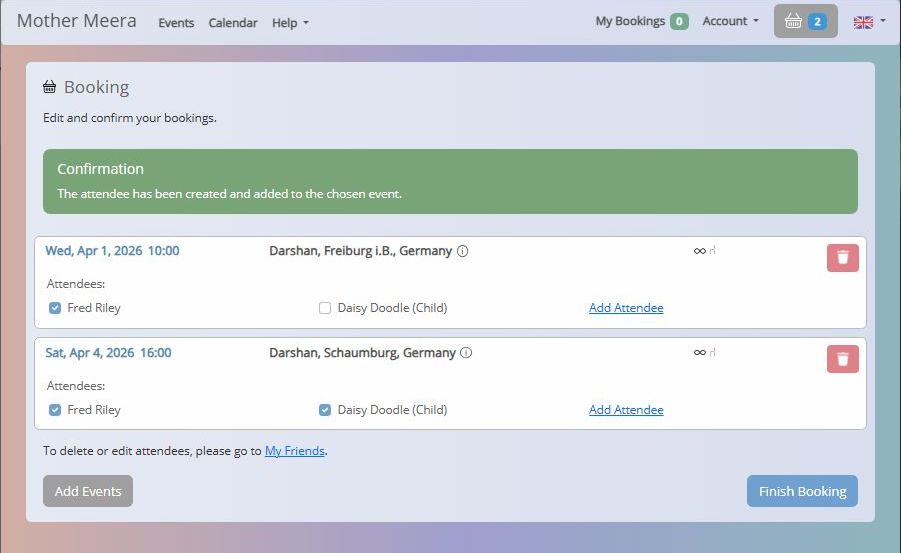
It now shows your name and also the attendee's name. Note that the attendee's name appears on only one of the events shown because we didn't select "Add this attendee to all events".
If you only want to book a place for the attendee but don't wish to attend the event yourself you can untick your own name on the left (shown here as Fred Riley).
If you wish to add more people click the "Add Attendee" link again. Once you have finished click the "Finish Booking" button to proceed.
Confirmation Of Your Booking
Your booking(s) is/are now confirmed and you will see the following screen:
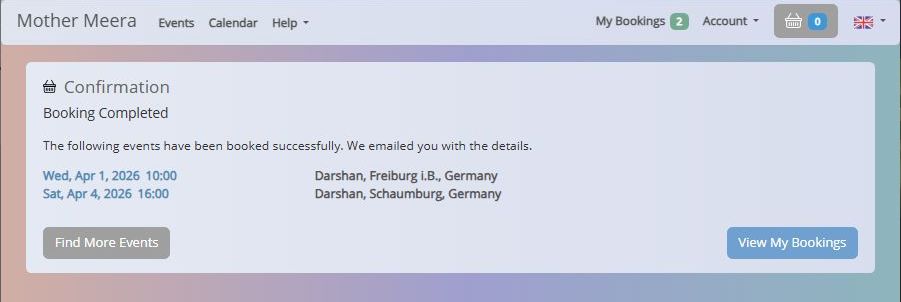
You will receive an email confirming your booking and containing tickets for them.
You may now log out but if you wish to see a summary of all your bookings (i.e. which may be more than those you have just booked, if you previously made other bookings) then Click the "View My Bookings" button. You can also see this summary at any time by clicking "My Bookings" on the top bar. The "My Bookings" screen looks something like this:
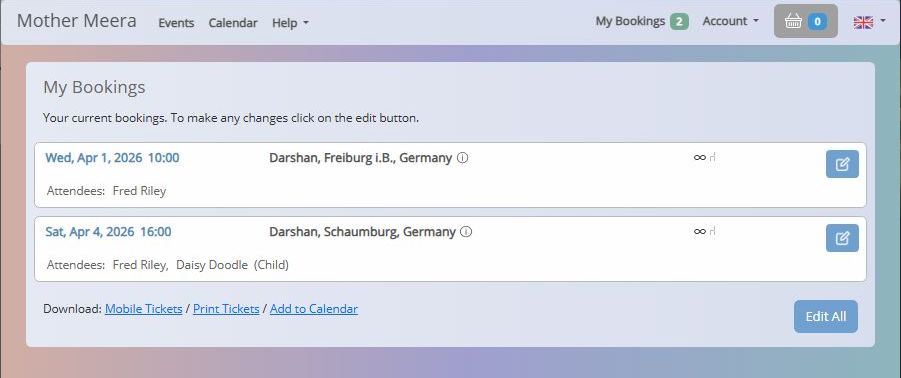
If you wish you may modify a booking (e.g. to delete it or add or remove an attendee) by clicking the blue icon to the right. There are also 3 "Download" links at the bottom for:
- If you are viewing the bookings on your phone you can download tickets (as a PDF document) which, if you are asked to, can be shown at check-in (you can safely ignore this at UK Darshans).
- You can download a PDF document showing a list of your bookings together with location information.
- You can download an ICS file which can be imported into a calendar app either on your phone or computer.
IMPORTANT: In the UK there is no need to print your tickets, it is just a waste of paper, as when you come to the event you will be checked in by someone with a list of everyone who has booked, simply give your name.